Words Liam Friary
Images Jakob Lester
RRP Telos Bikepacking TR2 Tent $1299 | Frontier Ultralight Collapsible Kettle $119 Frontier Ultralight Collapsible Pour Over $59
Distributor Southern Approach
As the evolution of bikepacking continues to see more riders embark on multi-day self-supported rides, so does the gear that supports these adventures. It’s good to see that we’re now in a space where outdoor companies are providing lightweight and robust products created for the purpose of bikepacking.
It shows there’s more understanding about this category, from non-cycling related brands. The scene continues to grow in popularity as does the demand on having a solid set of gear and products.
One company that makes great outdoor products is Sea to Summit. The brand’s founder, Roland Tyson, started making outdoor gear on an old industrial sewing machine in his childhood bedroom in 1983, at the age of 17. As a young outdoor enthusiast, Roland had a passion and a talent for creating cutting- edge outdoor equipment for his own adventures, and soon for other Australian adventurers too. The rest, as they say, is history! We were lucky enough to get our hands on some Sea to Summit gear for our recent bikepacking trips, including some of the adventures featured in this issue.
I think this product is definitely worth it, and I value having robust products that are comfortable and dry whilst camping outdoors.
Telos Bikepacking TR2 Tent
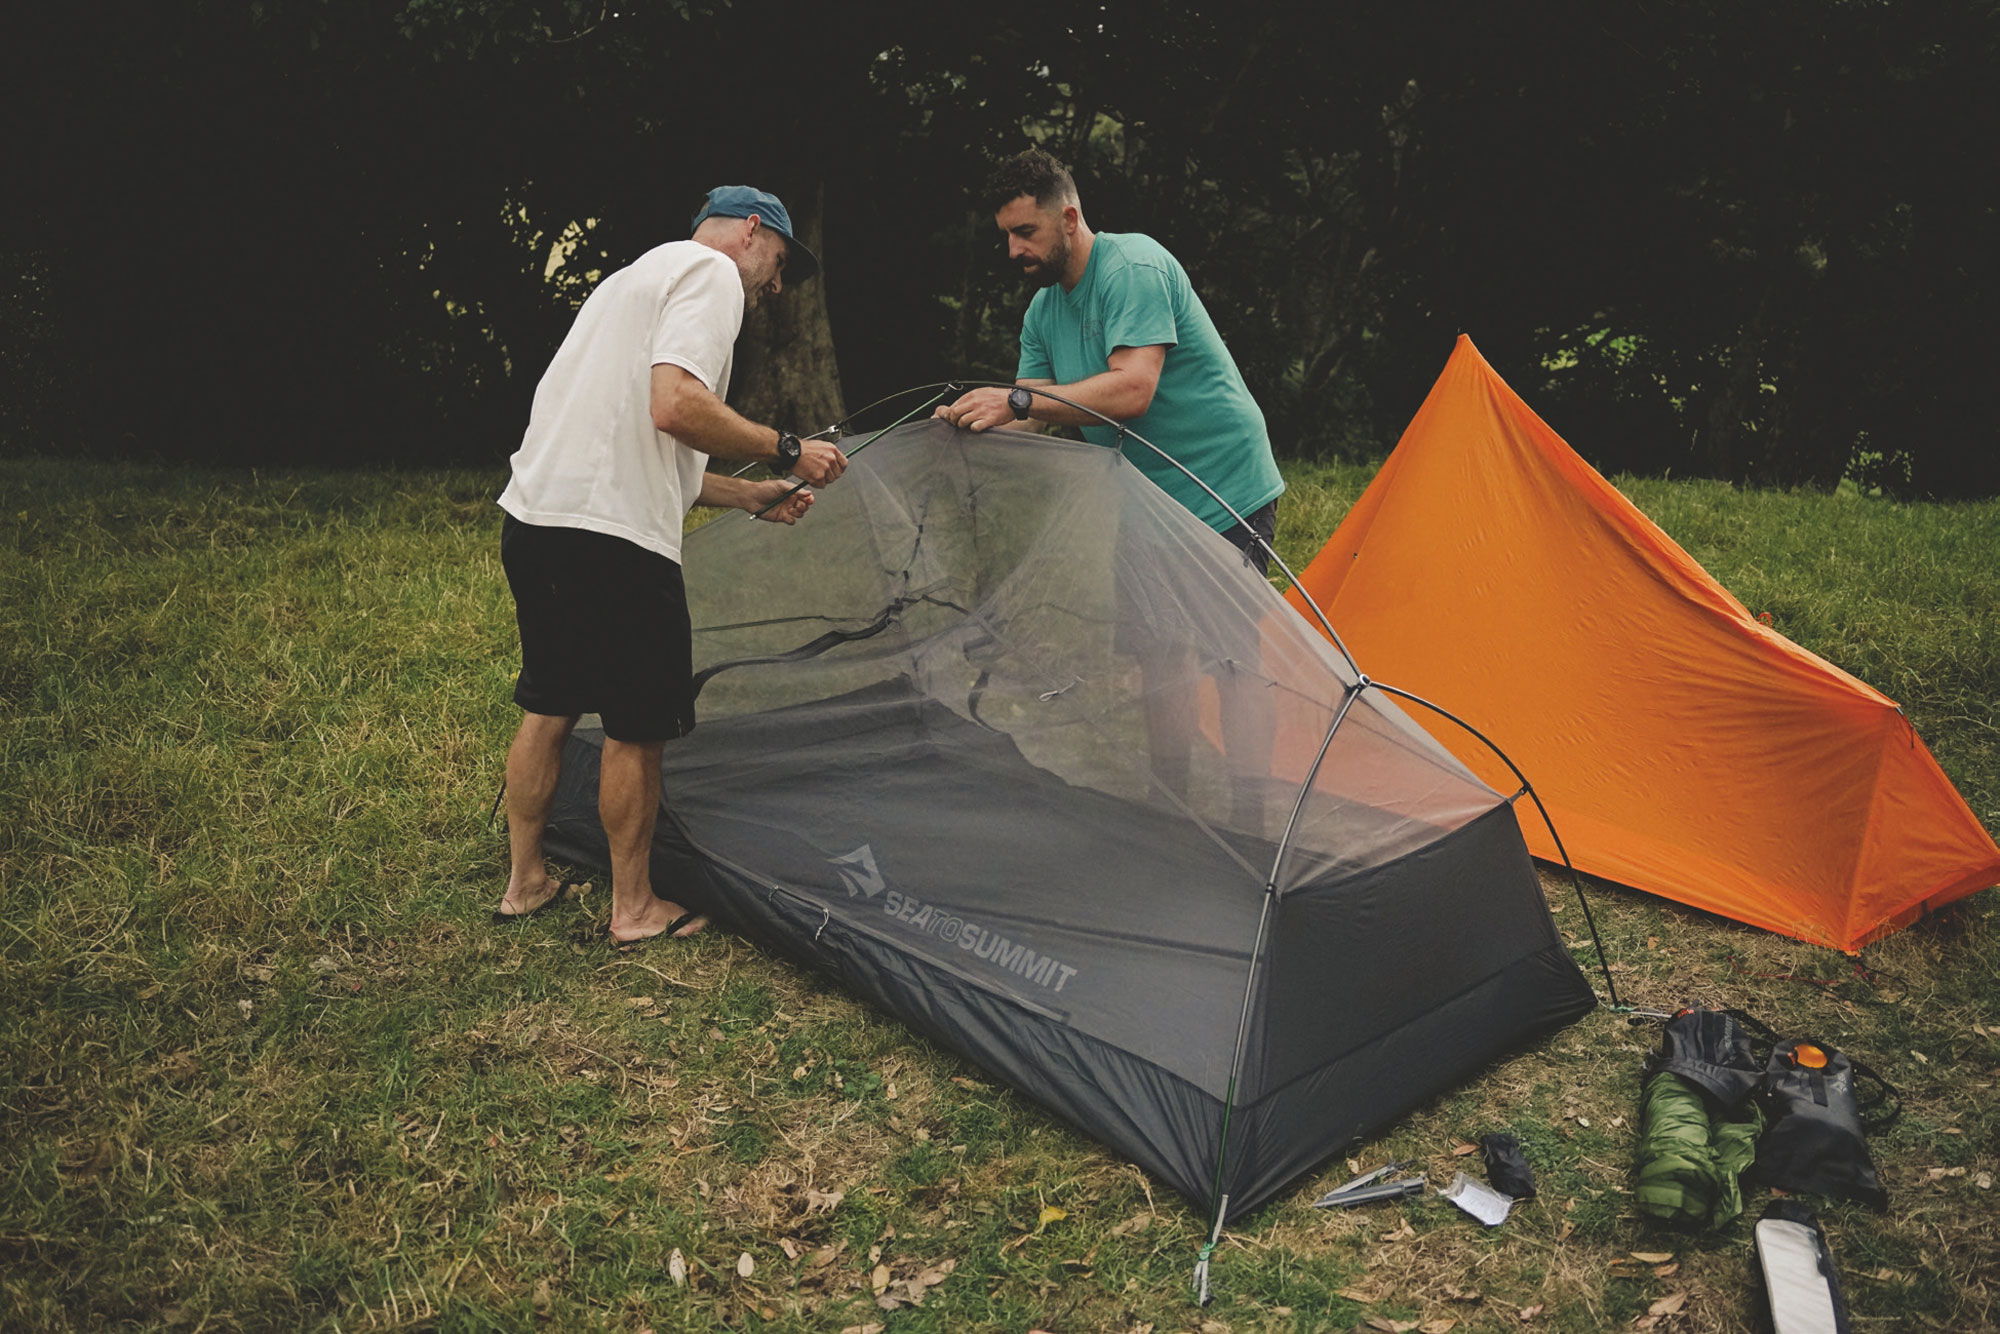
I tested the Telos Bikepacking TR2 tent on multiple riding trips and used it for our bikepacking expedition to Aotea Great Barrier Island. The Sea to Summit Telos Bikepacking TR2 tent is freestanding and made of 20-denier ripstop nylon for the floor, 15-denier polyester mesh for the canopy, and 15-denier ripstop nylon. There are two doors with one collapsible pole that’s made up of DAC Featherlite NSL 8.5mm and NSL 9.0mm. The poles of the Tension Ridge are swept upwards like the dihedral wing of an airplane – not angled downwards as is common in tents. This raises the tent’s shape, providing significantly more head and shoulder room, higher doors, easier access, and more usable vestibule space. The poles meet machined aluminum clips which make setting up the rainfly (either with the inner tent, or with a footprint in ultralight configuration) quick and easy. The floor area is 2.62 m2 with a packed weight of 1914g. During setup, two stuff sacks transform into gear storage pockets. A nifty feature is that the pole stuff sack (with a translucent diffuser) becomes a lightbar; add a headlamp or two for soft illumination throughout the tent.
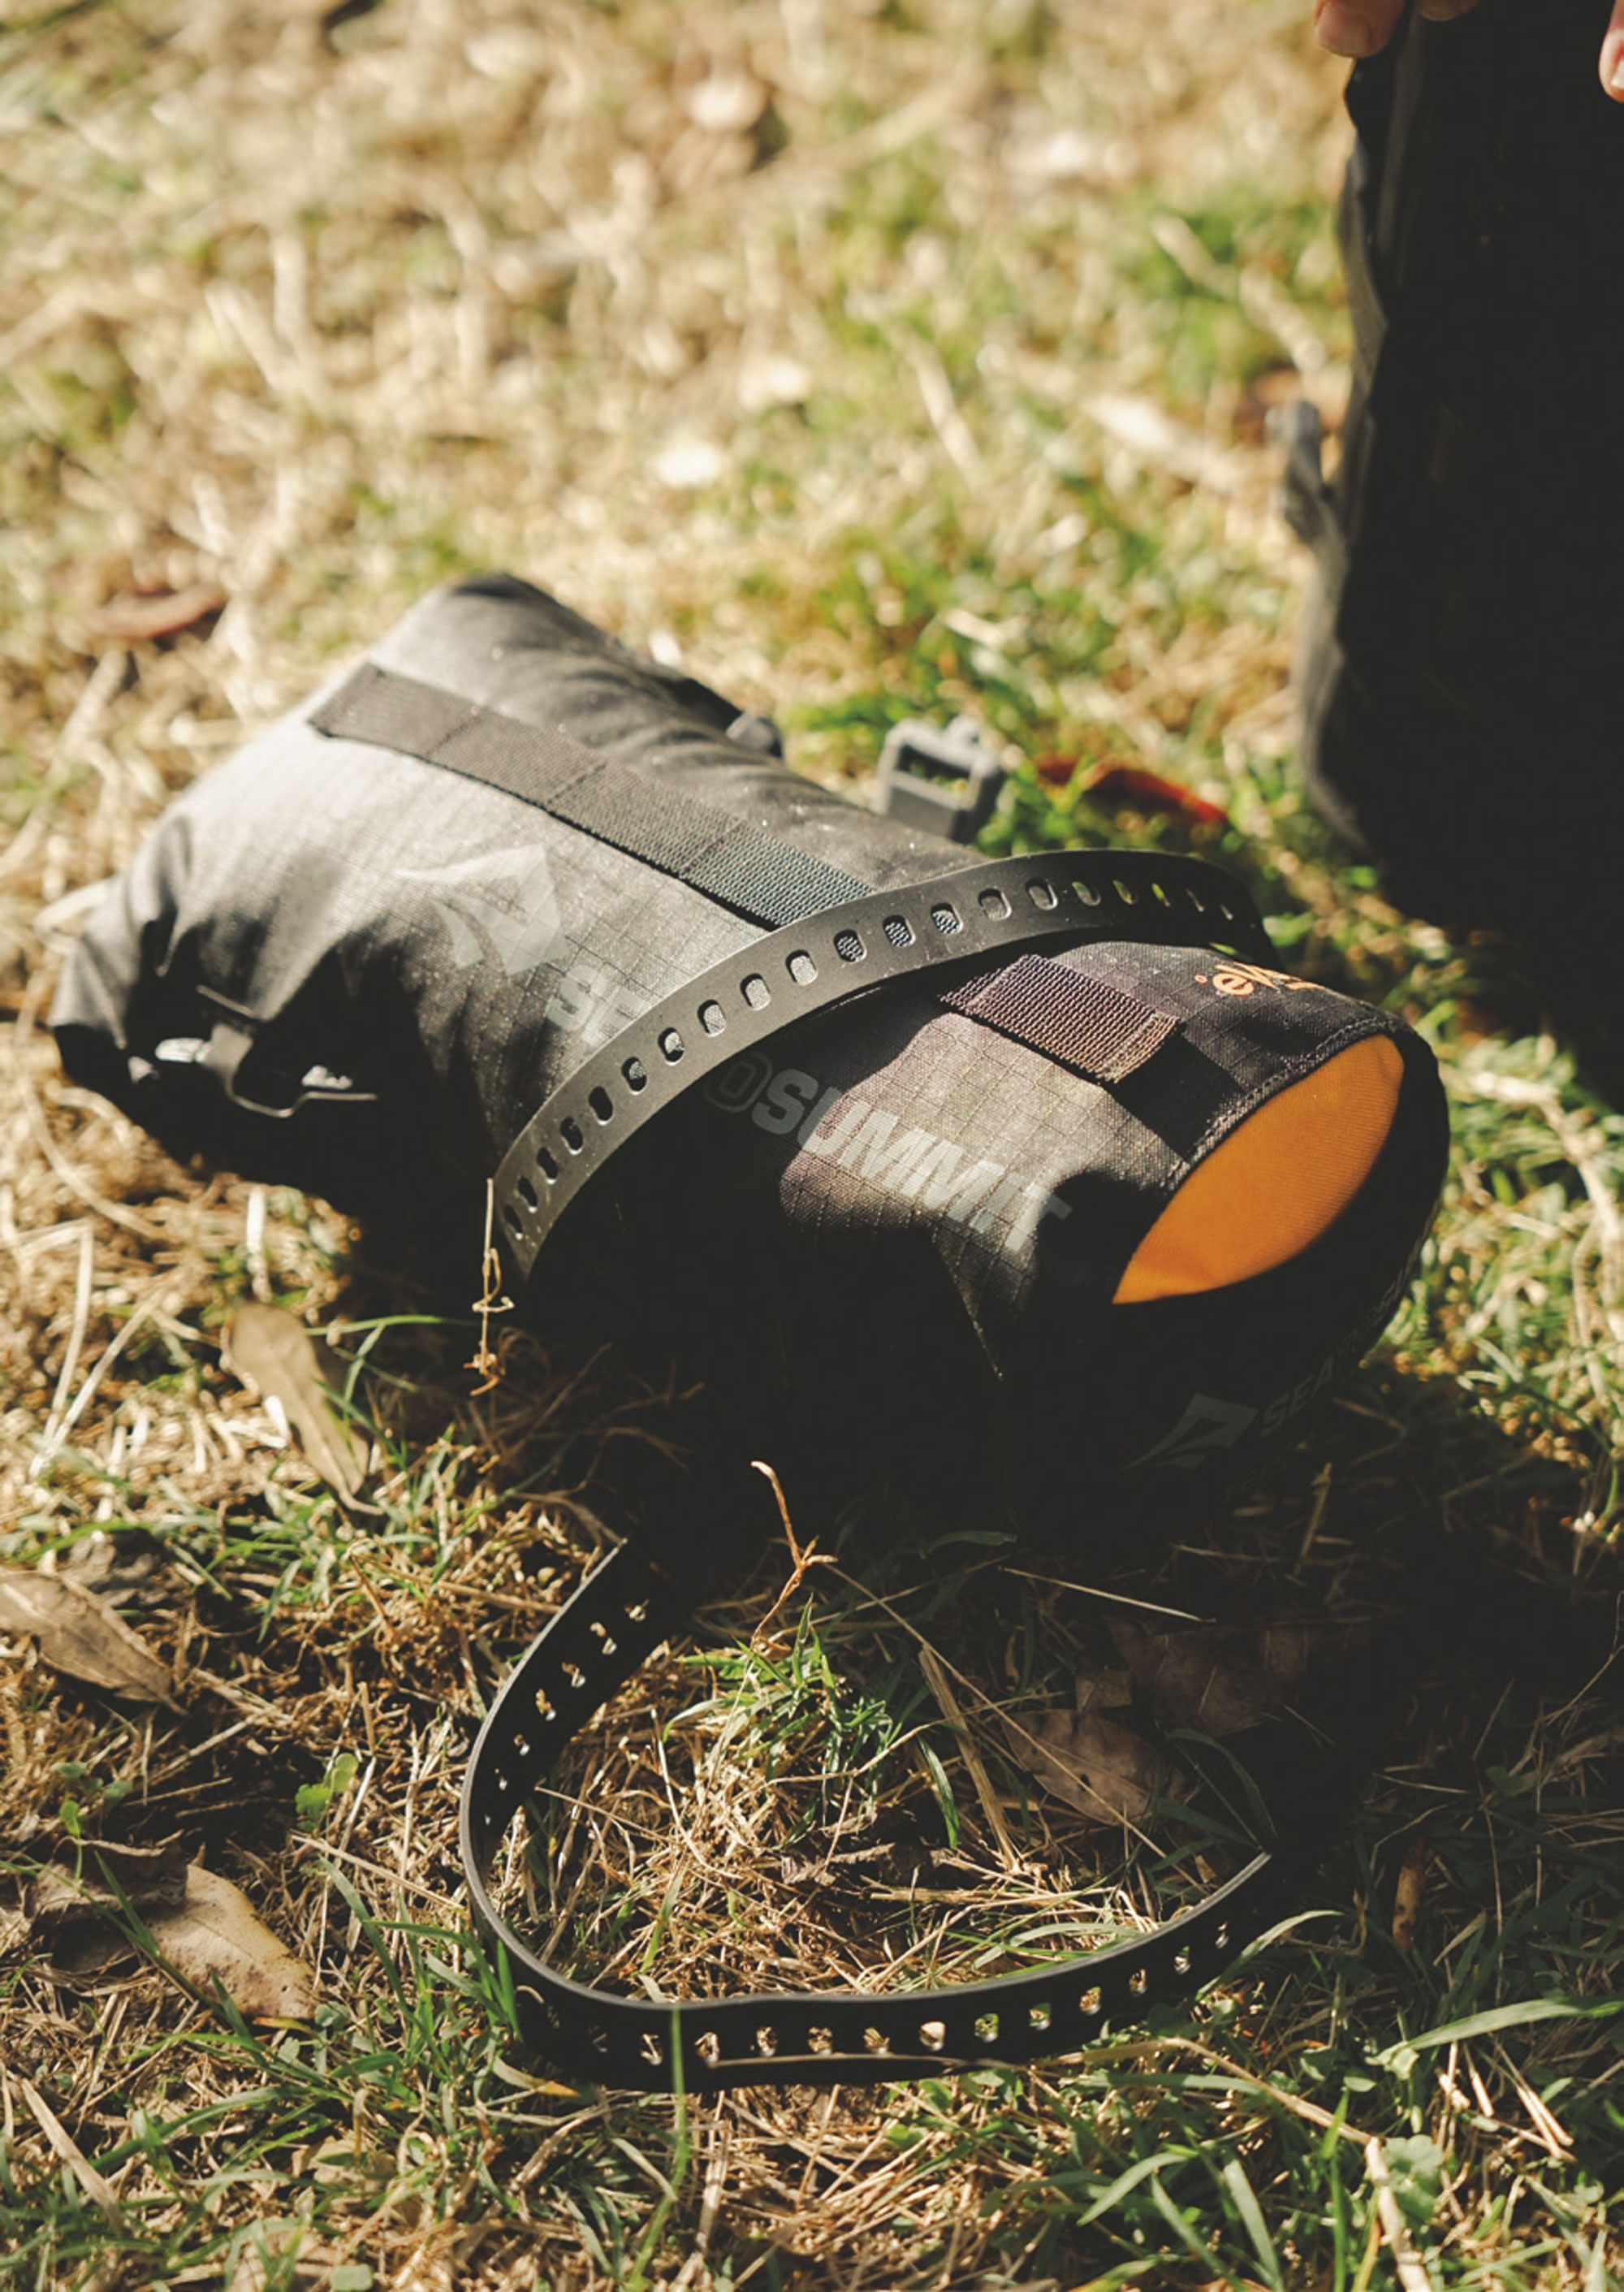
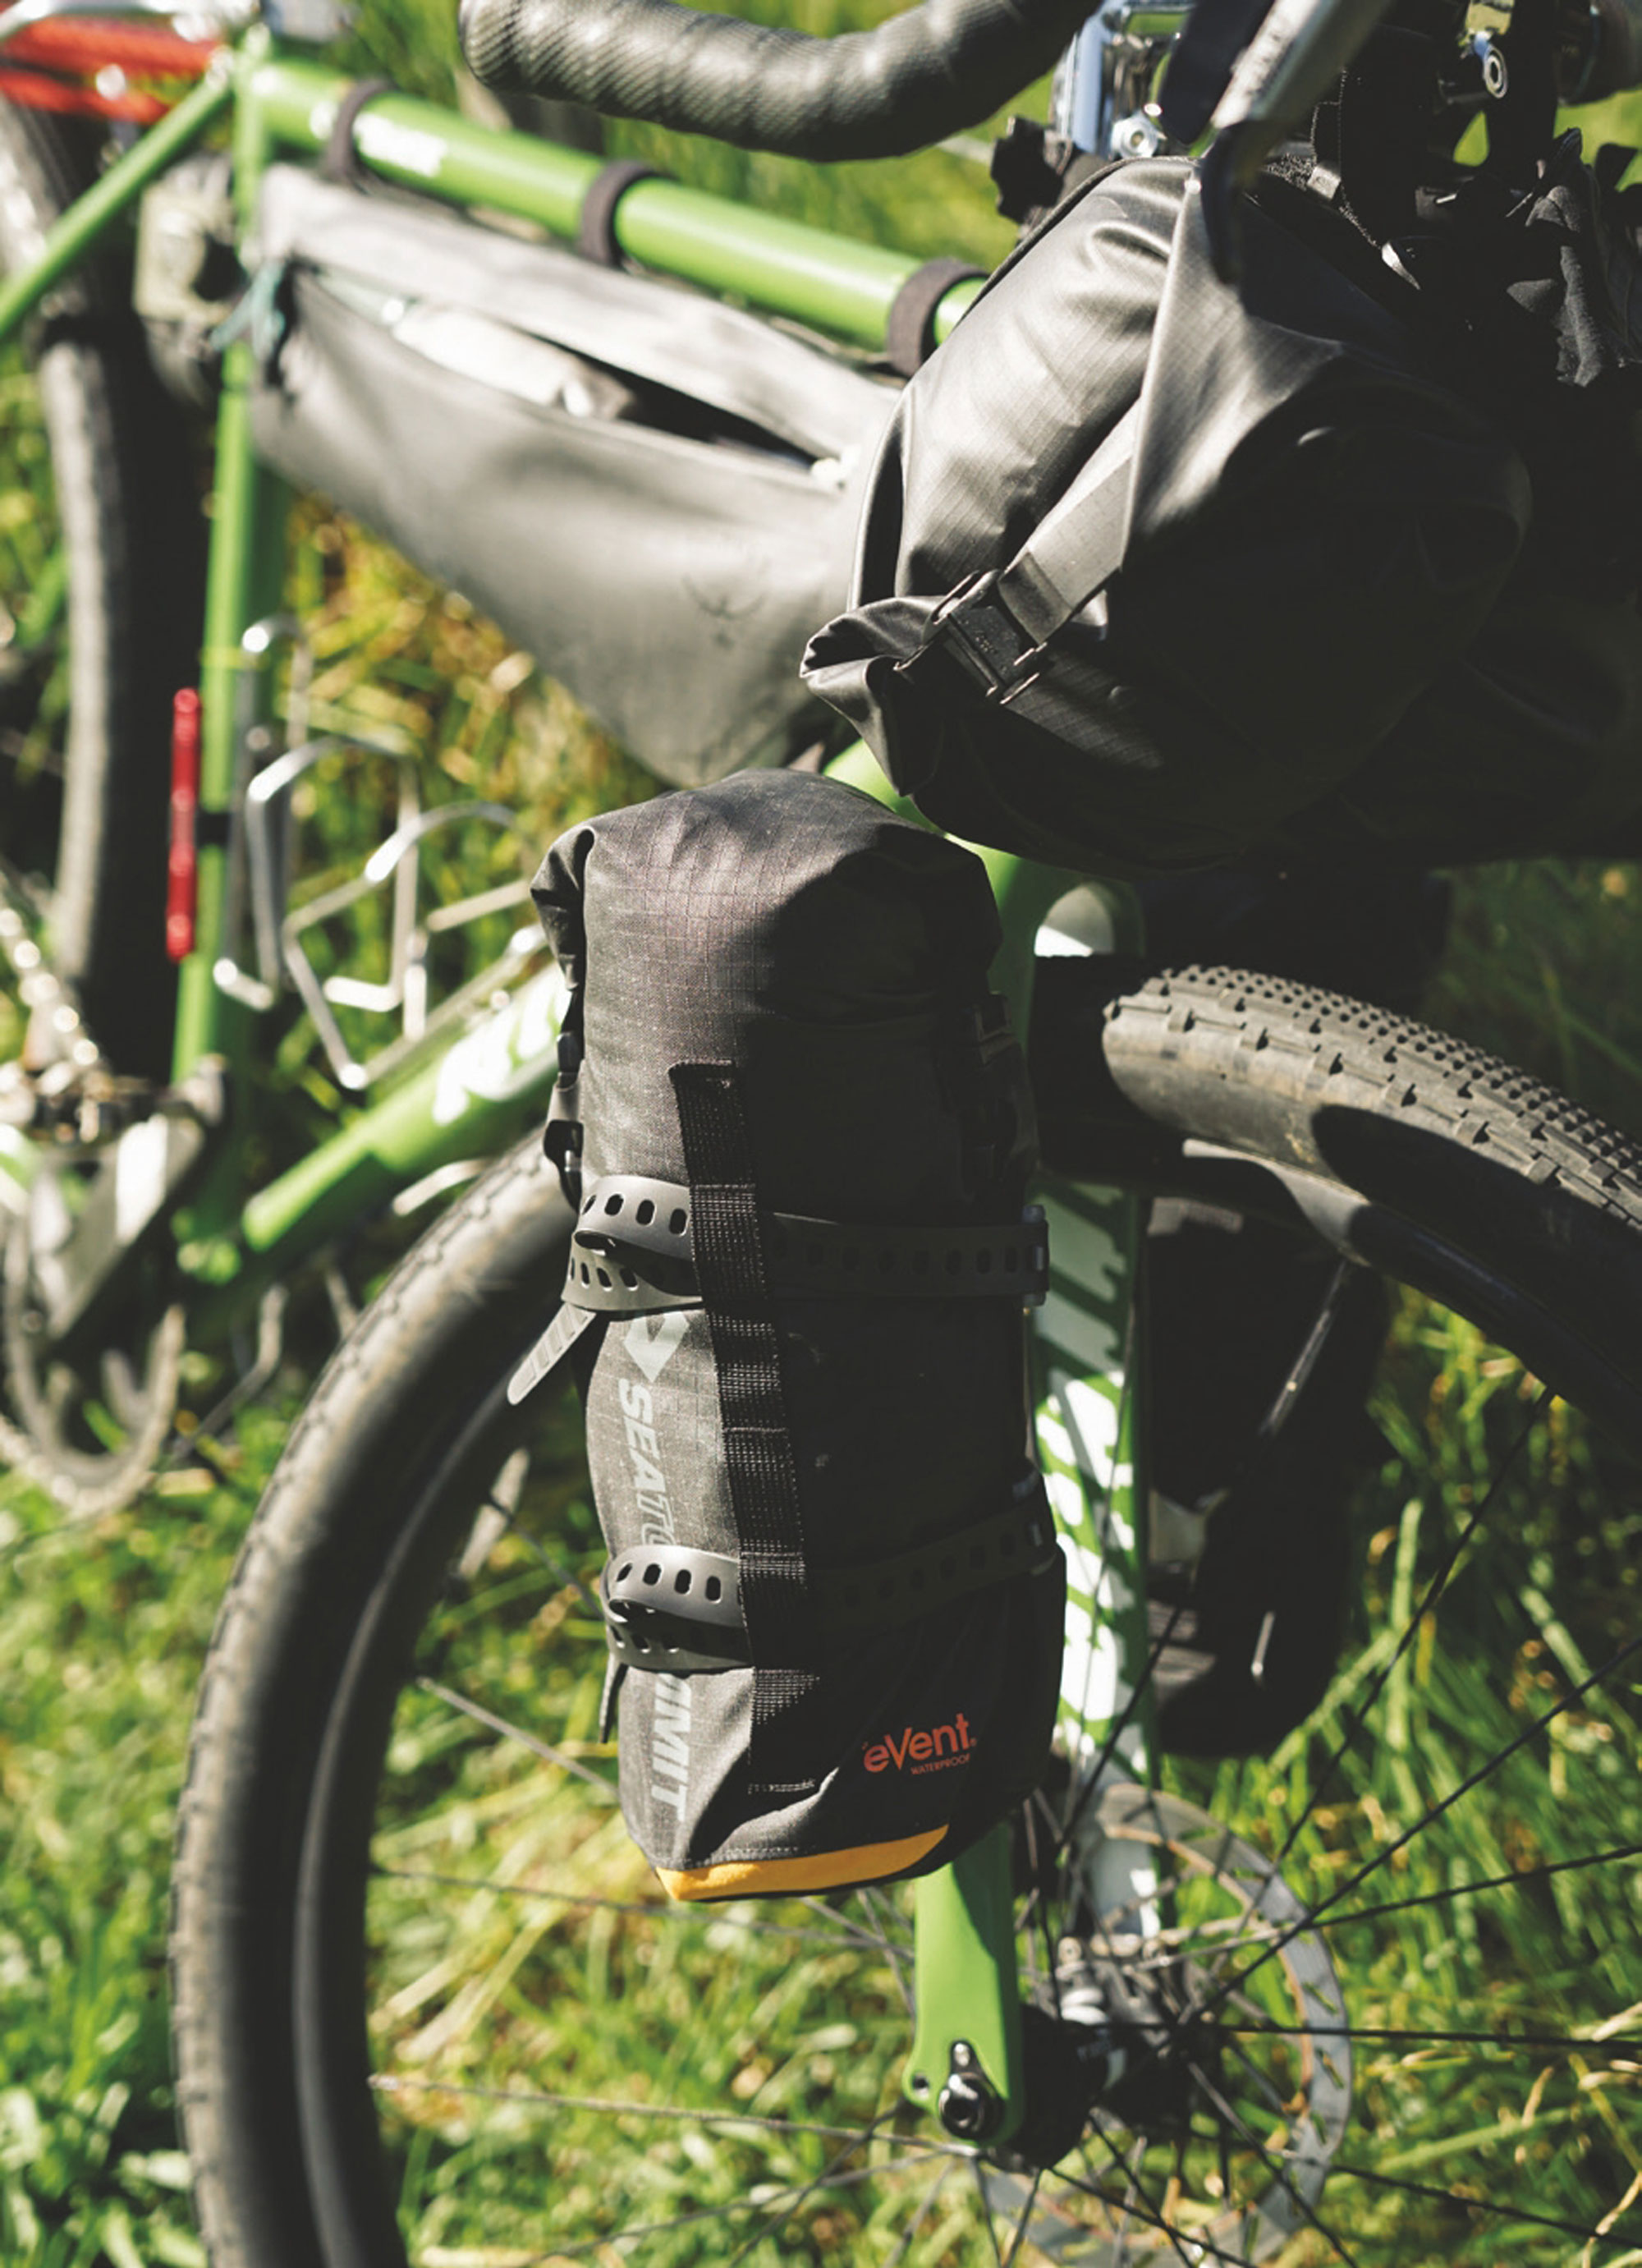
The TR2 has shorter tent poles and two dry bags for packing. The durable eVent® dry bags with StretchLoc straps offer reliable and flexible mounting, and even weight distribution. This means you can strap them onto the forks, or frankly wherever else you please on the bike. I did use a cargo cage which just ensured the bags snagged tightly on the cage rather than the fork, which meant they stayed in place on rowdier terrain. I’d suggest doing the same if you’ll be encountering any off-road terrain. Whilst both backpacking and bikepacking tents aim to be lightweight, one of the biggest notable differences between them are the tent pole length. Bikepacking tents have shorter poles which means they can be stashed on numerous locations on the bike, such as the handlebars, within the frame, or on a fork leg. Another difference is how they’re packaged – bikepacking tents come in a stronger, more durable, water-resistant bag as they’re exposed to the elements and not enclosed in a backpack.
The tent arrived not long before our trip over to Aotea, and I didn’t do too much reading up on how it would be erected. As I have already alluded to, it strapped onto the bike easily enough so, knowing that I wouldn’t be sleeping in the elements, off I went. There wasn’t any reception when we reached camp, which was great in terms of getting away from the digital realm but meant I couldn’t load an instructional YouTube video if needed. Thankfully, it was relatively simple to set up: the pole system is color coded with the tent body, which makes it easy to figure out which way the poles go. The rainfly clips to the poles, which means you can set it up first. This is a great idea if it’s raining when you arrive at camp, as it keeps the tent dry. The setup became easier during this trip, and it was dialed on my second outing. The tent sets up in six different ways outside of ‘classic mode’. It can turn into a covered shelter to sit under with ‘fly only mode’, and from there it converts to a more open ‘hangout mode’, to be used at a park or beach, maybe with camp chairs underneath. There’s ‘inner only mode’, familiar to most tent owners, omitting the fly when there’s no rain on the radar. And, if used, the rainfly also folds up in a couple of different ways, providing you with ‘partial fly mode’ and ‘two doors mode’.
The first night we camped out over on Aotea, it rained heavily. The Telos Bikepacking TR2 performed well and there wasn’t any moisture inside the tent. The second night was clear which made for a lot of dew in the morning but, again, the tent remained dry. The size is ample especially for one person but, as the name suggests, it’s made for two people. I do like that it’s got head room, and you don’t feel too cocooned inside of it. I could easily sit up and get changed into my long Johns and you could easily read a book or play cards if it was horrid outside. Set up in ‘classic mode’ there was a good amount of storage under the rainfly to stash cycling shoes and cooking equipment. I also noticed it’s got great ventilation, both on chilly nights and warmer ones. On the chillier nights, I stayed warm without the condensation that can collect when your body is warmer than the outside temperature.
I think the ability to easily pack this tent onto a bike gives it great functionality in the bikepacking realm. If you’re sharing the experience with someone, this tent is ideal as two people can fit inside with storage space for gear inside. The tent is lightweight but robust enough for our often-wilder weather. And on that, the waterproof storage bags again protect the tent from the elements. The bags, whilst great, are hard to get the tent back into and take a bit of patience. Perhaps a bit of an air pocket valve could be good to assist with taking the air out of the bags. Whilst I can’t really flaw the tent, the price is on the higher side. With that said, good products do tend to be more costly and, in my opinion, worth the investment. I think this product is definitely worth it, and I value having robust products that are comfortable and dry whilst camping outdoors.
Whilst on the Aotea trip, the kettle was used numerous times. Often with bigger cookware you’d tend to just leave it packed until you’ve unloaded your rig at the campsite. This kettle’s compact size meant I could get it out mid-ride and make a brew quite easily. The time to boil was relatively short and it was super stable, even on a small burner stove.
Frontier Ultralight Collapsible Kettle
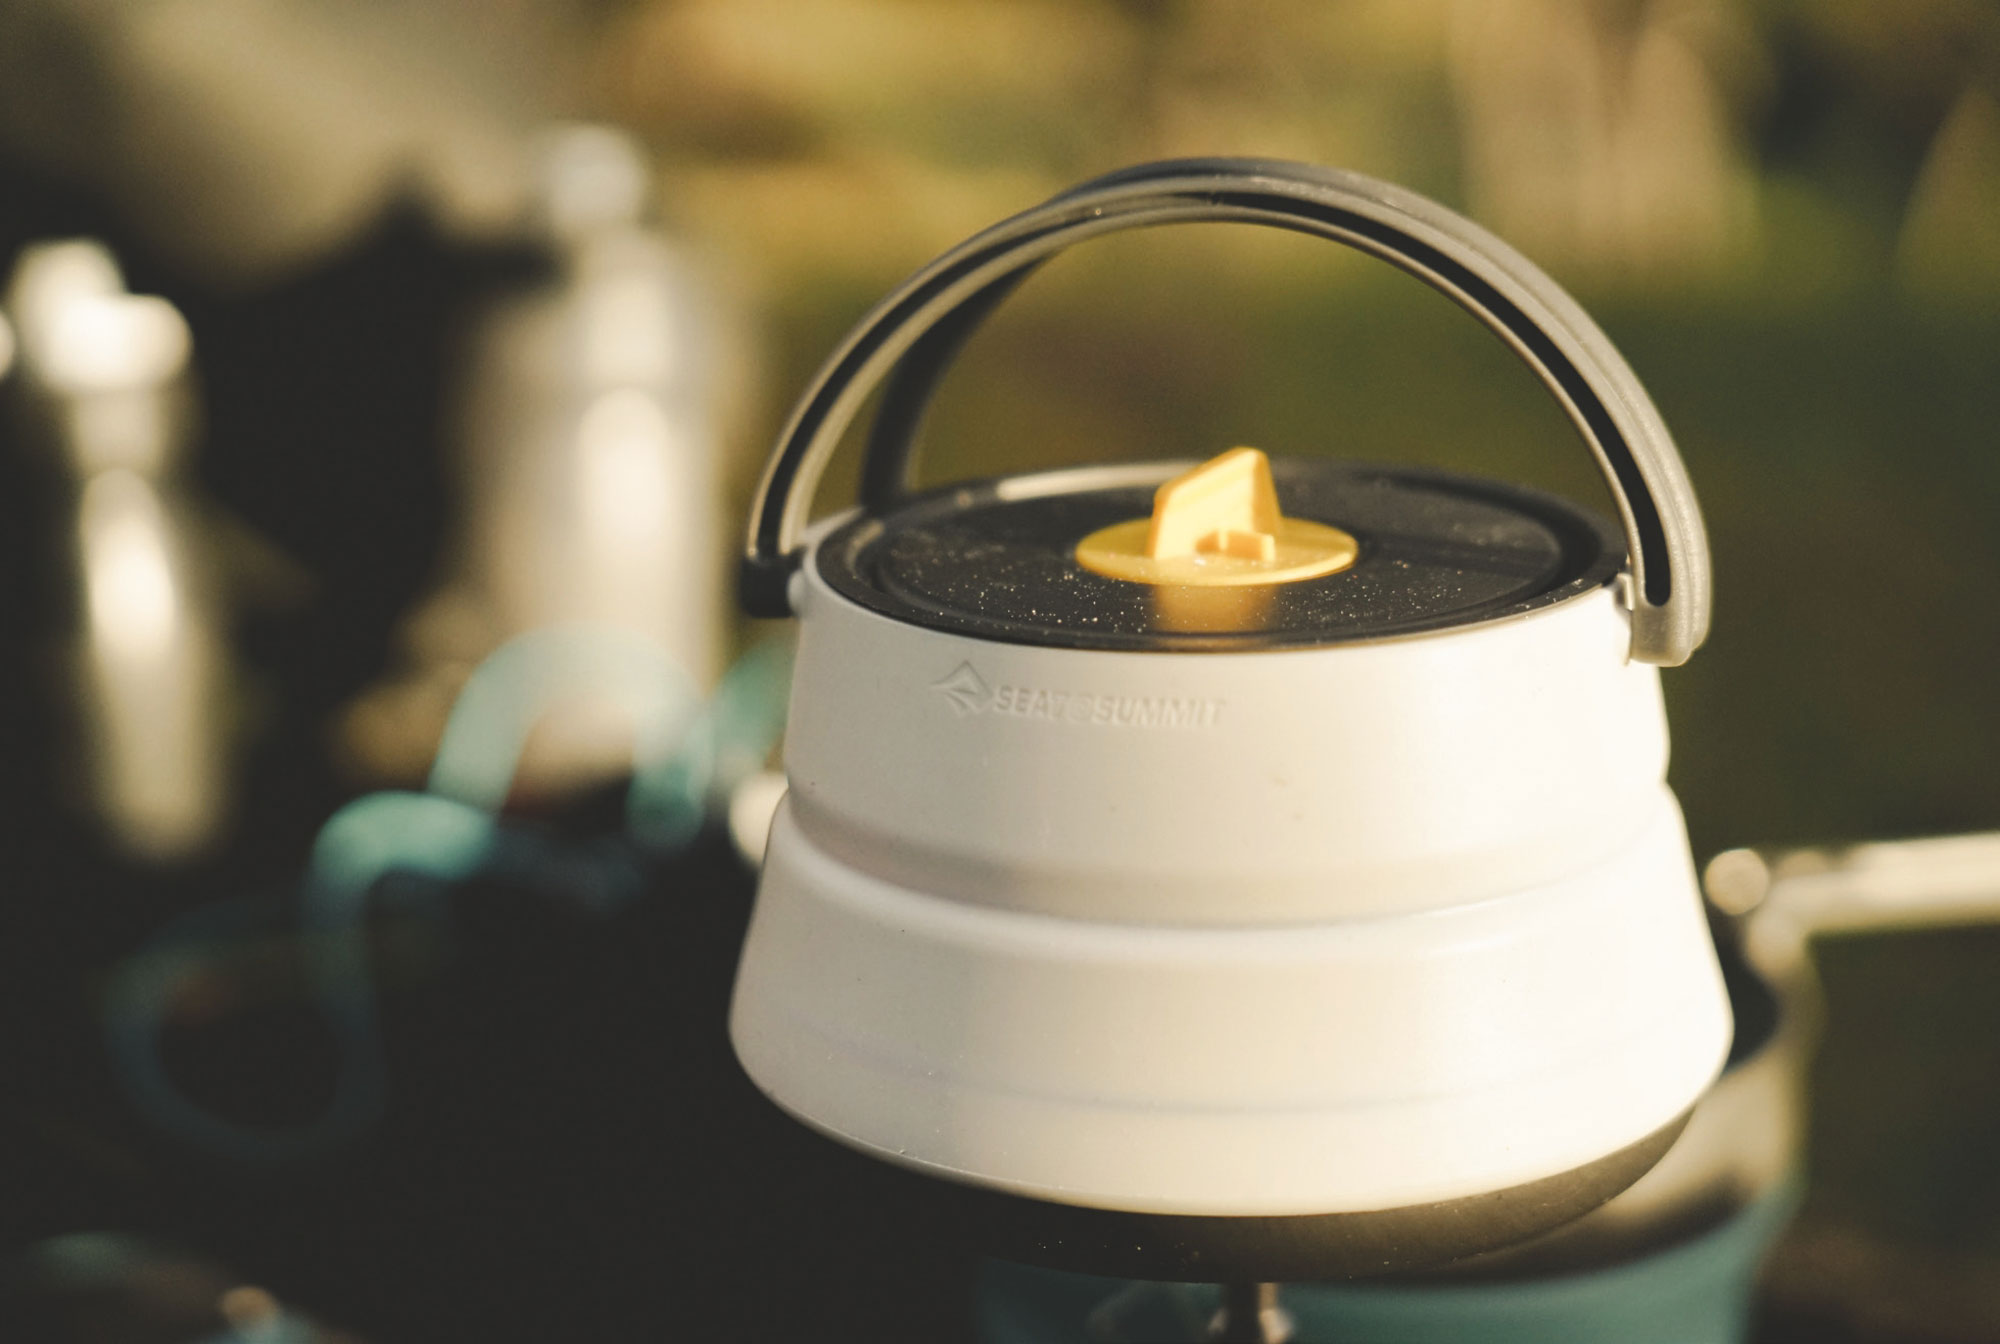
The first thing that struck me about this collapsible 1.1L Ultralight Collapsible Kettle was its compactness. I could fit the kettle into a half frame bag – which is definitely a first! I like coffee and tea and want to savor these small moments when camping in the outdoors. This kettle is made with EU food-grade silicone and a hard anodized aluminum base for rapid heat transfer; there’s also two glass reinforced nylon handles for stable pouring. And, with a wide rim, the kettle can be used as a cooking pot as well, making it super versatile.
Whilst on the Aotea trip, the kettle was used numerous times. Often with bigger cookware you’d tend to just leave it packed until you’ve unloaded your rig at the campsite. This kettle’s compact size meant I could get it out mid-ride and make a brew quite easily. The time to boil was relatively short and it was super stable, even on a small burner stove. This is a great, small option for heating water or cooking on bikepacking missions. I’ve used other water heating products before and whilst they’re good, they tend to be hard to stow on the bike or in a pack. I can assure you this versatile kettle will be accompanying me on more missions in the field.
I have used many other coffee systems in the outdoors. They all do a great job, but some take up a bit more space than others and have paper filters. The Frontier Ultralight Collapsible Pour Over is by far the smallest one I’ve used, and brews a great drop.
Frontier Ultralight Collapsible Pour Over
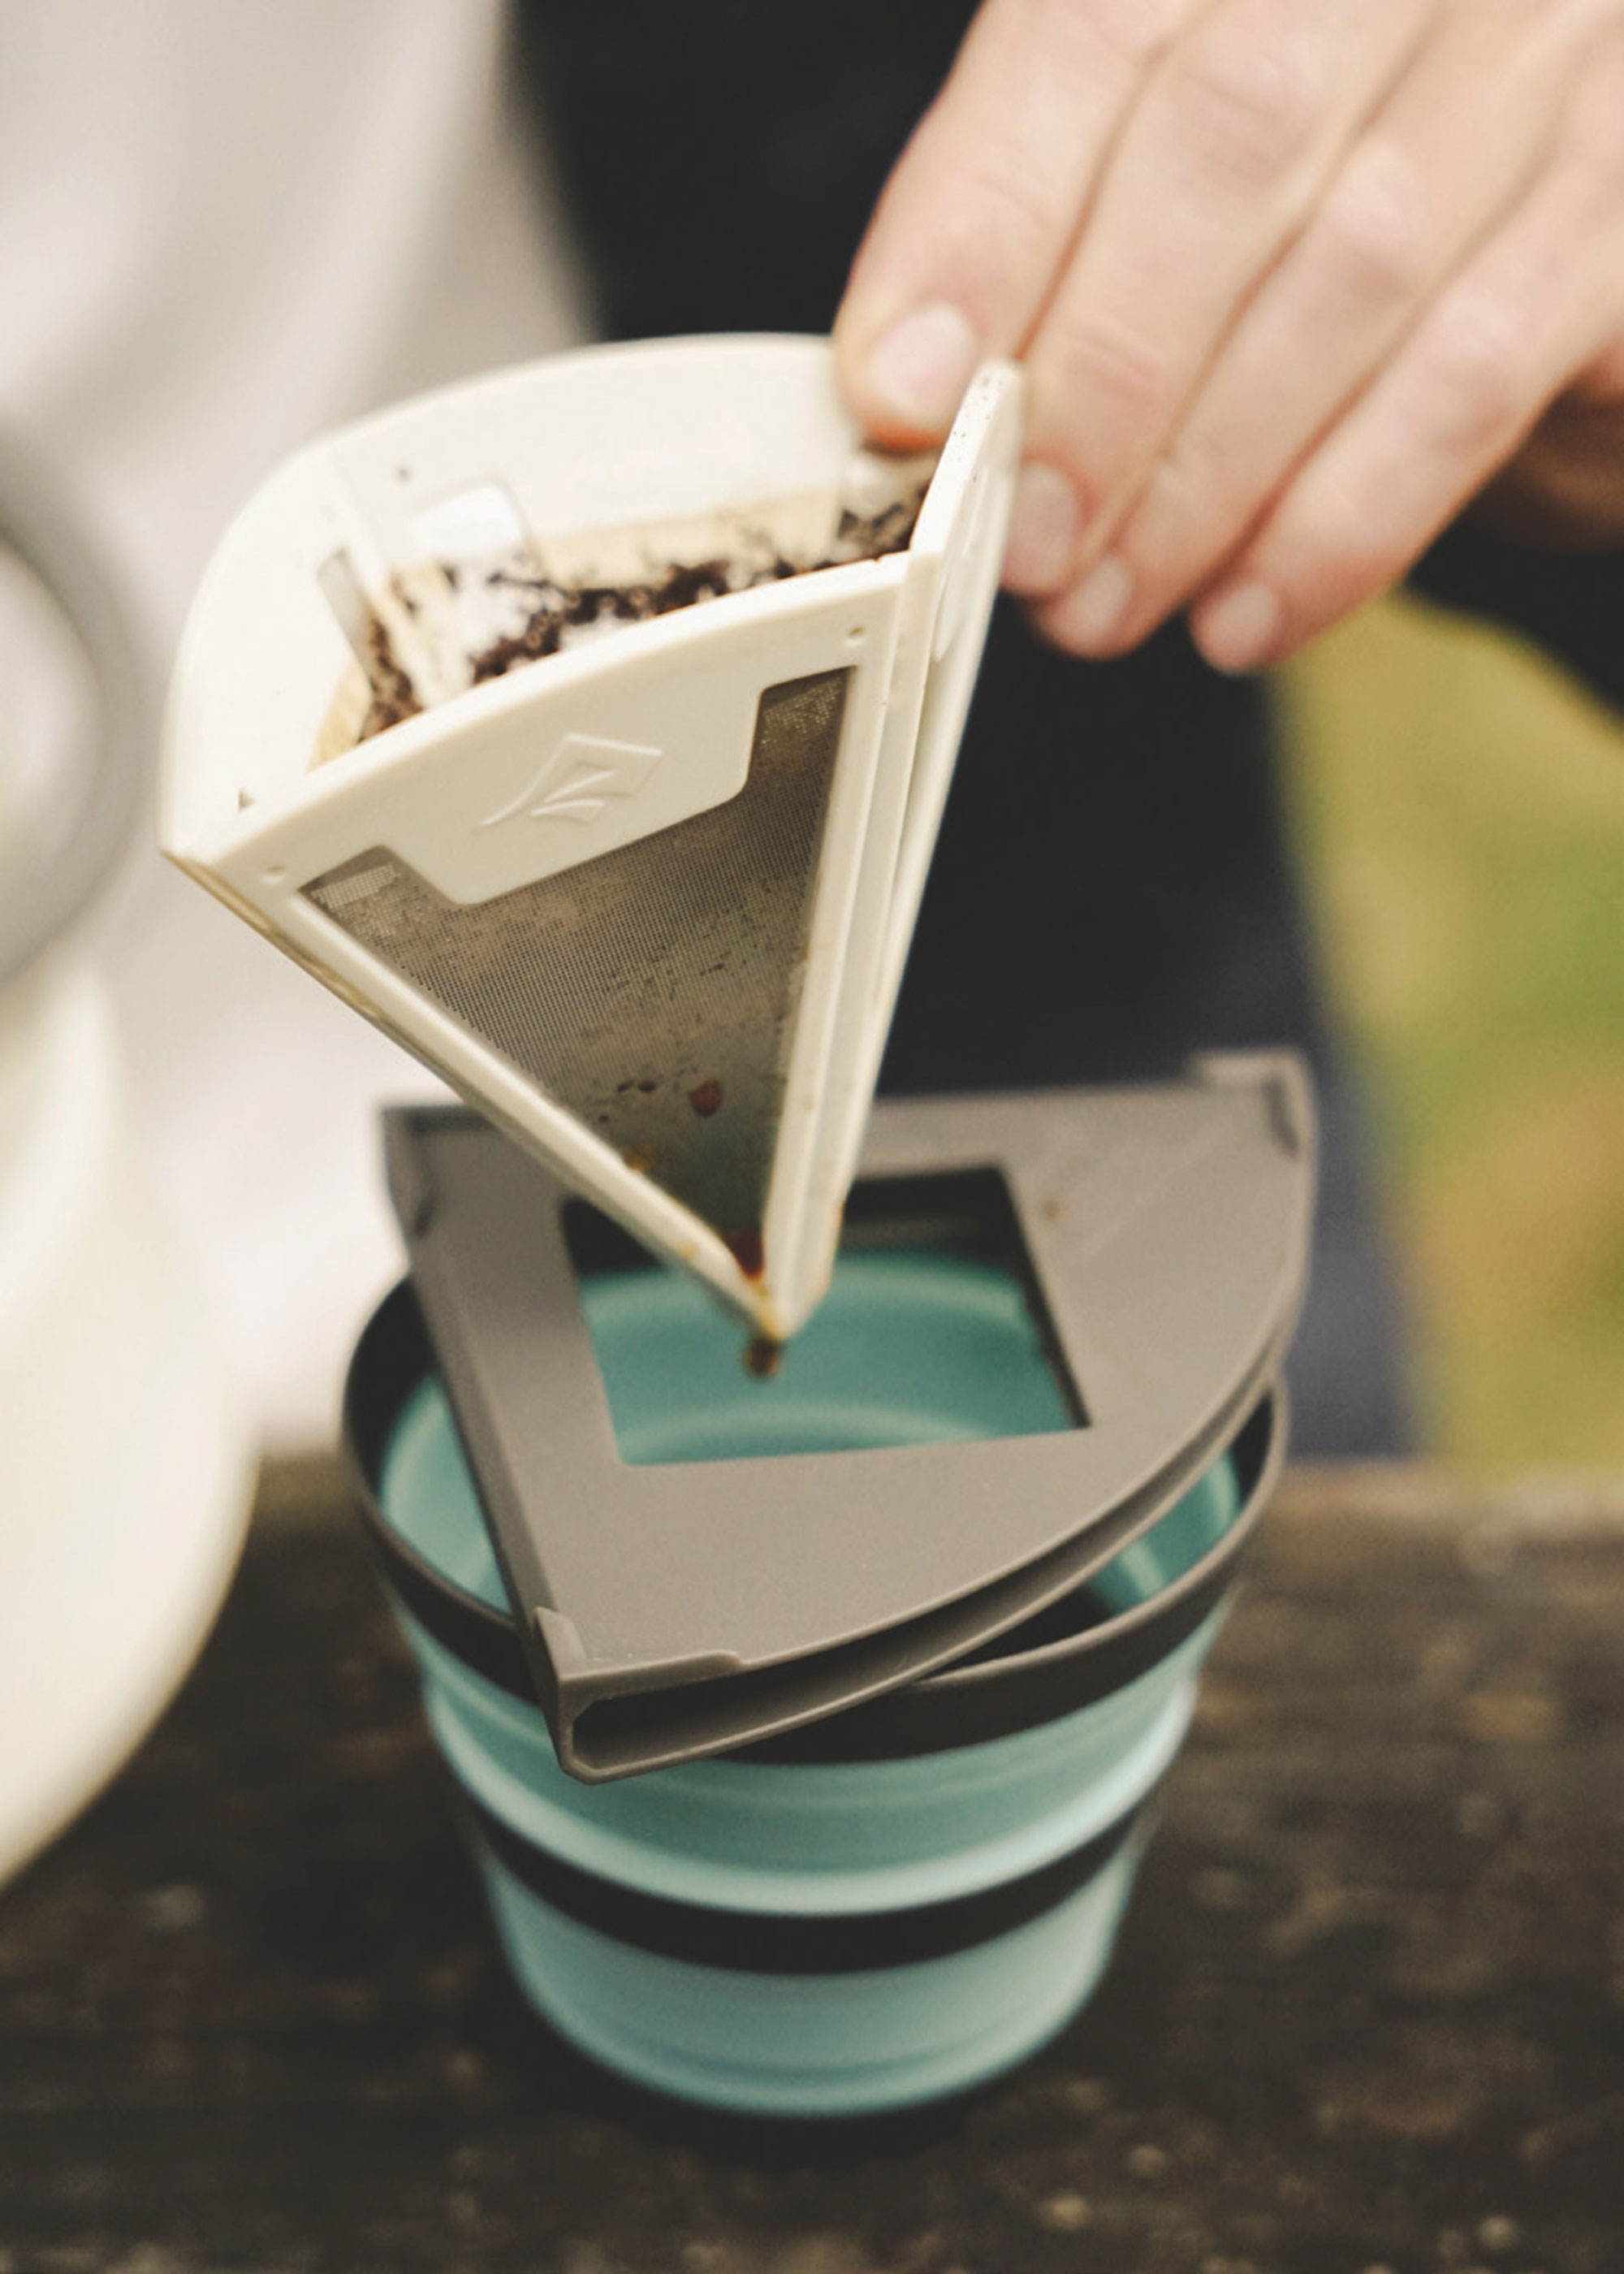
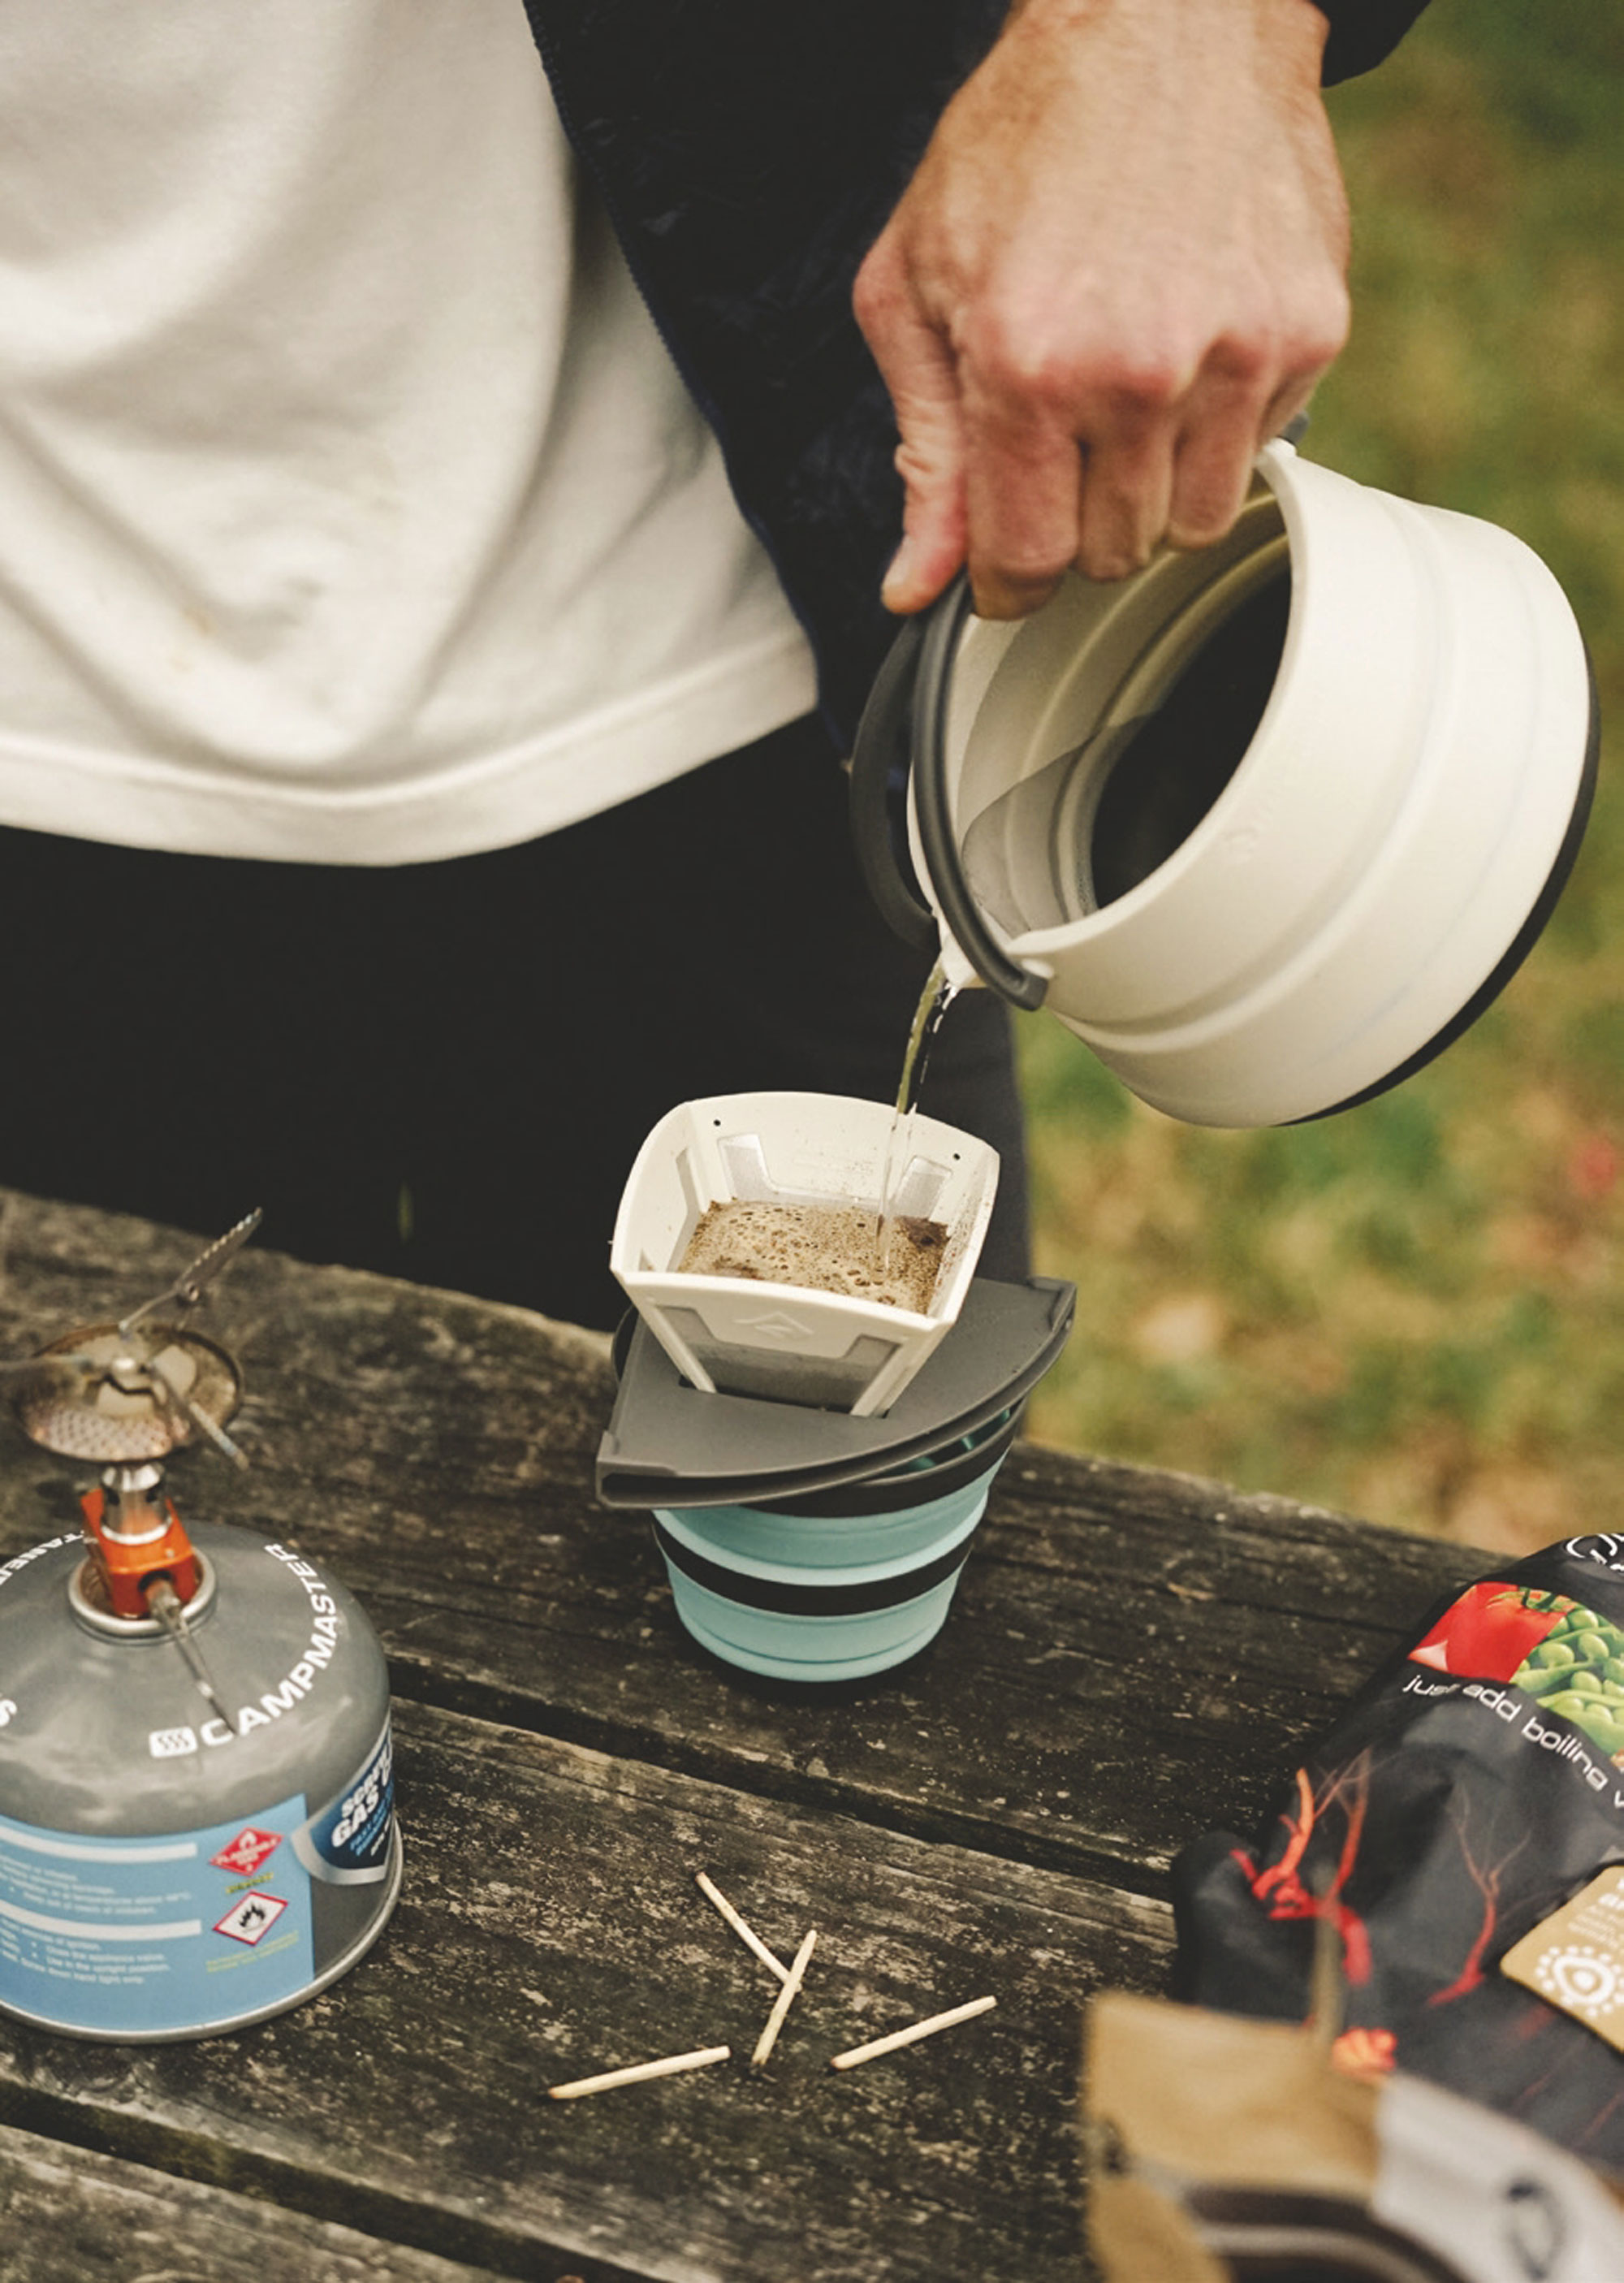
Perhaps even more important than the kettle is the product used to make a good brew. The Frontier Ultralight Collapsible Pour Over folds flat for storage in its polypropylene mount base, then pops out when needed to make a perfect pour over brew. Another nifty idea is that it stows itself inside the Frontier Collapsible Kettle, saving on space yet again. I kept the entire coffee system inside the kettle, stashed in my frame bag. It keeps it simple, and ensures everything is packed together which, for me, is the best way to stash items on bikepacking trips. I like to think of it like separate compartments – ones you need access to on the road, and others you don’t need until camp.
I got my local coffee shop to grind up some fresh beans for the pour over, taking one step out of the process. Don’t hate on me coffee aficionados! One serving is around 30g of ground coffee, and the filter is formed to hold the grounds but filter the coffee oils for a rich, satisfying cup. The mount base, which also doubles as the storage sleeve, fits most mugs and provides a steady platform which ensures the coffee doesn’t go everywhere. The coffee out of the pour over is super delicious with strong body – bearing in mind the beans used provide different taste palettes. After you’ve made the pour over, the easy-to-clean stainless steel mesh filter is ready for the next brew.
I have used many other coffee systems in the outdoors. They all do a great job, but some take up a bit more space than others and have paper filters. The Frontier Ultralight Collapsible Pour Over is by far the smallest one I’ve used, and brews a great drop. The packability inside the kettle is a bonus and after a few days camping on Aotea, we consumed the entire bag of coffee from the local coffee roaster. If coffee is your thing when pedaling multiple days on a bikepacking trip, this super light pour over is a very worthy contender.


